Blenders are common kitchen appliances that may experience performance issues over time. When a blender fails to operate, the problem often lies within the motor or its associated components. Understanding how to test and replace a blender motor can be a valuable skill for those interested in appliance repair. This article outlines a methodical approach to disassembling a blender base, testing motor continuity, and addressing worn brushes or a faulty switch.
Before beginning any repair, it is important to ensure safety by unplugging the appliance from the power source. Working with electrical components requires careful attention and adherence to safety protocols. The process described here is intended for informational purposes and assumes a basic familiarity with hand tools and electrical testing equipment. Always consult the manufacturer’s documentation for specific guidance related to your blender model.
The following sections detail the steps involved in accessing the motor, conducting continuity tests, and replacing common components. By following a systematic approach, individuals can diagnose issues and potentially restore operation. However, outcomes depend on various factors, including the extent of damage and the availability of replacement parts.
Understanding Blender Motor Components
Blender motors are typically universal motors, which can operate on alternating current (AC) or direct current (DC). They consist of several key parts: the stator, rotor, brushes, and commutator. The brushes are carbon blocks that conduct electricity to the rotating commutator, enabling the motor to spin. Over time, brushes wear down and may cause intermittent operation or complete failure. The switch controls power delivery and can also fail due to mechanical wear or electrical issues.
In addition to the motor, blenders include a coupling that connects the motor shaft to the blade assembly, and often a thermal protector that cuts power if the motor overheats. Understanding these components helps in diagnosing problems. For instance, if the blender doesn’t start, it could be due to a faulty switch, worn brushes, a broken connection, or a defective motor. Testing continuity can isolate the issue.
Repairing a blender motor involves more than just replacing parts; it requires a logical troubleshooting process. This includes visual inspection, continuity testing, and component replacement. Each step builds on the previous one to ensure a comprehensive assessment. It’s also important to note that some blenders are designed with sealed motors that are not user-serviceable, in which case replacement of the entire unit may be necessary.
Disassembling the Blender Base
Disassembly begins by removing the blender jar and any attachments. Turn the base upside down and locate the screws securing the bottom plate. These screws may be hidden under rubber feet or labels. Use a screwdriver that matches the screw head to avoid stripping. Once the screws are removed, gently lift the bottom plate to expose the internal wiring and motor.
Take note of the wire connections and their locations. It may be helpful to take photographs or draw a diagram before disconnecting any wires. The motor is usually held in place by mounting screws or brackets. Remove these to free the motor, but be cautious of any springs or washers that may be present. Some blenders have the motor connected to a fan for cooling; handle these parts carefully to avoid damage.
If the goal is to test the motor without fully removing it, you may be able to access the brushes and switch with the motor in place. However, for a thorough inspection, removing the motor can provide better visibility. Always work on a clean, well-lit surface and keep small parts organized to prevent loss.
Testing Motor Continuity
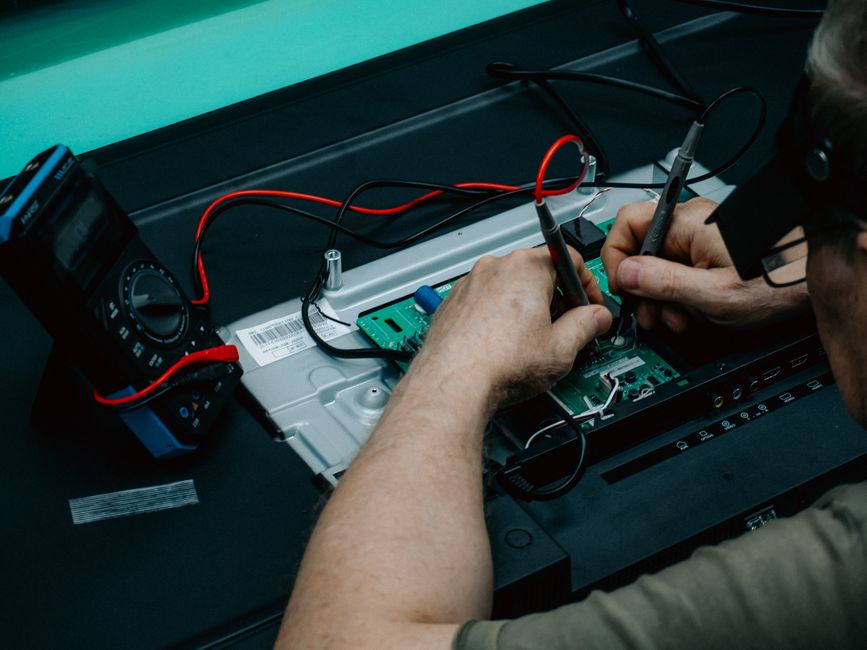
Continuity testing is a method to check if an electrical path exists between two points. A multimeter set to the continuity or resistance mode is used for this purpose. Before testing, ensure the blender is unplugged and the motor is disconnected from the power supply. Identify the motor terminals; these are usually where the power wires connect.
Touch the multimeter probes to the motor terminals. A reading of near zero ohms or a beep indicates continuity, meaning the motor winding is likely intact. If there is no continuity, the motor may have an open winding, which typically requires motor replacement. Additionally, test between each terminal and the motor casing to check for shorts; a reading other than infinite resistance suggests a short circuit.
It’s important to test the brushes and switch as well. Brushes can be tested by measuring resistance across them; they should show some resistance but not infinite. A switch can be tested by checking continuity in the on and off positions. If the switch fails to show continuity when on, it may be faulty. These tests help pinpoint the defective component.
Continuity testing provides a reliable way to assess the integrity of electrical paths, but it does not guarantee that a component will function under load. Other factors such as mechanical wear or heat can affect performance.
Replacing Worn Brushes or a Faulty Switch
If testing reveals worn brushes, replacement is often straightforward. Brushes are typically held in place by a spring and a clip. Remove the old brushes and note their orientation. Install new brushes of the same size and type, ensuring they move freely in their holders. Some brushes require a break-in period, during which they seat against the commutator.
For a faulty switch, identify the type of switch used in your blender. It could be a simple toggle, a rotary switch, or a push-button. Disconnect the wires and remove the switch from its mounting. Install a replacement switch with the same specifications and reconnect the wires according to your diagram. Ensure all connections are secure and insulated to prevent shorts.
After replacing components, reassemble the blender in reverse order. Before fully closing the base, you may perform a quick continuity test to ensure no wires are pinched or disconnected. Once reassembled, plug the blender into a power source and test its operation. If it still doesn’t work, further troubleshooting may be needed, or the motor itself may be defective.
For those who prefer professional assistance, companies like FixCircuit offer diagnostic and repair services for small appliances. However, for DIY enthusiasts, the steps outlined here can guide a careful repair attempt. Always prioritize safety and consider the complexity of the task before proceeding.
Reassembly and Final Testing
Reassembly involves reversing the disassembly steps. Carefully place the motor back into the housing, securing it with the mounting screws. Reconnect all wires, referring to your diagram or photos. Ensure that wires are routed away from moving parts and that the thermal protector, if present, is properly reconnected. Replace the bottom plate and tighten the screws, but avoid over-tightening to prevent damage.
Once reassembled, perform a final continuity test on the power cord to ensure no shorts have been introduced. Then, plug in the blender and test it with a small amount of liquid. Observe for unusual noises, smells, or vibrations. If the blender operates smoothly, the repair may have been successful. If not, re-examine your work or seek professional help.
It’s important to note that repairs can extend the life of an appliance but are not guaranteed to restore full functionality. Factors such as the age of the blender, the availability of parts, and the extent of damage play a role. Additionally, safety should always be the top priority; if you are unsure about any step, consult a qualified technician.