Diagnosing a Washing Machine Motor That Won’t Spin
When a washing machine motor fails to spin, the cause can often be traced to a few common components: the carbon brushes, the motor windings, or the start/run capacitor. Understanding how these parts function and how to test them can help you determine whether a repair is feasible or if replacement is necessary. This guide provides a systematic approach to diagnosing the issue, focusing on inspection and testing procedures that you can perform with basic tools.
Before beginning any diagnosis, ensure the washing machine is unplugged from the power source to prevent electrical shock. Familiarize yourself with the appliance’s wiring diagram, usually located behind the control panel or in the user manual. If you are uncomfortable working with electrical components, consider consulting a qualified technician. The steps outlined here are for informational purposes and assume some familiarity with multimeter usage and basic disassembly.
The motor itself is a critical component that converts electrical energy into mechanical rotation. In many top-loading and front-loading washers, the motor may be a direct-drive or belt-driven design. Regardless of type, the fundamental troubleshooting principles remain similar. We will explore how to inspect and test each potential failure point, and discuss when replacement might be the most practical course of action.
Understanding the Washing Machine Motor and Its Components
The washing machine motor is an electric motor that drives the agitator or drum during the wash and spin cycles. In most residential washers, the motor is either a single-phase induction motor or a universal motor. Universal motors, commonly found in older top-loaders, use carbon brushes to transfer electrical current to the rotating armature. Induction motors, often used in front-loaders, rely on electromagnetic induction and may include a capacitor to create a rotating magnetic field. Each design has specific failure modes that can prevent spinning.
The motor’s operation depends on several interrelated components: the stator windings, rotor, brushes (if applicable), capacitor, and the control system (timer or electronic control board). A failure in any of these can result in a motor that hums but doesn’t spin, doesn’t run at all, or runs intermittently. It’s important to approach diagnosis methodically, checking each component in a logical order. This section provides an overview of these parts and their roles.
Carbon brushes are consumable items that wear down over time. As they wear, contact with the commutator becomes poor, leading to reduced torque or complete failure to start. Windings can fail due to overheating, short circuits, or open circuits, often caused by excessive current draw, moisture, or age. Capacitors can degrade, losing capacitance or shorting out, which affects the motor’s starting torque. Identifying which component is faulty requires careful testing.
Safety Precautions and Initial Checks
Before diving into component testing, always prioritize safety. Disconnect the washing machine from the power outlet and turn off the water supply. If the machine has been recently used, allow the motor and surrounding components to cool to avoid burns. Wear insulated gloves and use tools with insulated handles when working near electrical parts. It’s also wise to discharge any capacitors before handling them, as they can hold a dangerous charge even after power is removed.
Initial checks should include verifying that the motor is actually receiving power. Sometimes the issue is not the motor itself but a faulty lid switch, door lock, or control board. Ensure the lid is closed (for top-loaders) or the door is locked (for front-loaders) as required for the spin cycle. Check for any error codes displayed on the control panel; these can provide clues. Also, inspect the drive belt (if equipped) for wear or slippage, as a loose belt can prevent the drum from spinning even if the motor runs.
If the motor hums but doesn’t spin, it indicates that power is reaching the motor but it cannot generate enough torque to start. This could point to a faulty capacitor, worn brushes, or a mechanical obstruction. If the motor is completely silent, the issue may be electrical upstream, such as a blown fuse or a faulty control board. These initial observations help narrow down the possible causes.
Inspecting and Testing Motor Brushes
Carbon brushes are a common wear item in universal motors. To inspect them, first locate the motor, which is typically at the bottom of the washer. Remove the access panel or tip the machine back (following manufacturer guidelines) to reach the motor. The brushes are usually held in plastic holders on the motor housing, secured by screws or clips. Before removing, note their orientation for reassembly.
Once removed, examine the brushes for wear. A new brush typically has a long carbon block, while a worn brush may be less than 1/4 inch (6 mm) in length. If the brush is worn down to its minimum limit or has chips, cracks, or signs of burning, replacement is necessary. Also, check the brush springs for tension; weak springs can reduce contact pressure. Clean the commutator with a soft cloth or fine sandpaper to remove carbon buildup, but avoid using metal tools that could damage the surface.
To test the brushes electrically, use a multimeter set to measure resistance. Measure the resistance between the brush and the commutator while the brush is in its holder. A reading that fluctuates or is very high (above a few ohms) indicates poor contact. If the brushes are within specification but the motor still fails, proceed to test the windings. Keep in mind that brush replacement is often a straightforward DIY task, but ensure you use exact replacement parts for your motor model.
Testing Motor Windings for Continuity and Shorts
Motor windings can fail due to overheating, which may melt insulation and cause shorts between turns or to ground. To test windings, you’ll need a multimeter with resistance and continuity settings. First, disconnect the motor’s wiring harness and label the wires if necessary. Identify the terminals for the start winding, run winding, and common. Refer to the motor’s wiring diagram for accurate identification.
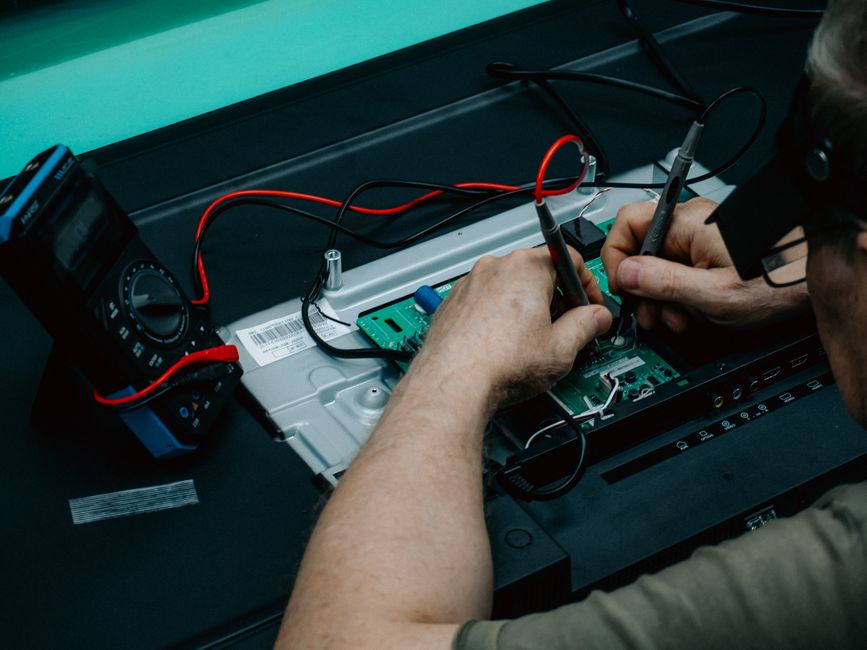
Set your multimeter to the lowest resistance scale. Measure the resistance between the common terminal and each of the other terminals. You should get a finite resistance reading for each winding, typically ranging from a few ohms to several dozen ohms depending on the motor design. If you get infinite resistance (open circuit), the winding is broken and the motor likely needs replacement. If the resistance is significantly lower than specified, it could indicate a shorted winding. Compare readings to the motor’s specifications or a known good motor if available.
Next, check for shorts to ground. Set the multimeter to its highest resistance scale. Measure between each terminal and the motor’s metal frame (ensure bare metal contact). Any reading other than infinite indicates a ground fault, which means the winding insulation has failed and the motor is unsafe to use. In such cases, replacement is the only safe option. Windings that test good but still don’t spin may point to a capacitor issue, which we’ll cover next.
Checking and Replacing the Capacitor
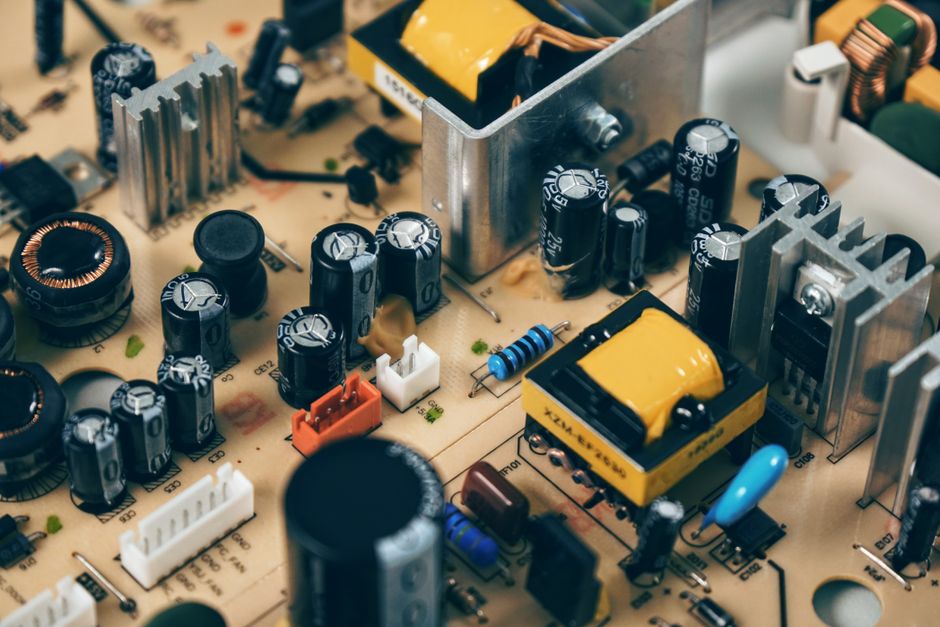
Many washing machine motors, especially induction types, use a start or run capacitor to provide the necessary phase shift for starting torque. A faulty capacitor can cause the motor to hum without spinning, or to start slowly. Before testing, discharge the capacitor by shorting its terminals with an insulated screwdriver (do this carefully to avoid sparks). Then, use a multimeter with a capacitance setting to measure the capacitance. If your multimeter lacks this feature, you can use an analog ohmmeter: connect the probes to the capacitor terminals; the needle should jump toward zero and then slowly rise toward infinity as the capacitor charges. A capacitor that doesn’t charge or shows a short is defective.
Compare the measured capacitance to the rating printed on the capacitor’s casing (e.g., 10 µF ±10%). If it’s significantly lower, the capacitor has lost its ability to store charge and should be replaced. Also, inspect the capacitor for bulging, leaking, or burn marks, which are signs of failure. When replacing, choose a capacitor with the same capacitance and voltage rating (or higher voltage). Ensure the new capacitor is properly mounted and connected, observing polarity if it’s an electrolytic type (though most motor capacitors are non-polarized).
After replacing the capacitor, test the motor. If it now spins, the issue was solely the capacitor. If not, recheck other components. Keep in mind that capacitors can fail due to age, heat, or voltage spikes, and replacing one is often a cost-effective repair. However, if the motor still doesn’t run, the problem may lie elsewhere.
Mechanical and Control System Considerations
Beyond electrical components, mechanical issues can prevent the motor from spinning. Check the drive belt for wear, glazing, or proper tension; a slipping belt will not transfer power to the drum. Inspect the pulleys for debris or damage. In direct-drive models, ensure the rotor can turn freely by hand (with power off). If it’s stuck, there may be an obstruction in the drum or a failed bearing. Also, verify that the motor mount is secure and not causing misalignment.
The control system, whether a mechanical timer or an electronic board, can also be the culprit. If the motor receives no power, test for voltage at the motor terminals during the spin cycle (with the machine powered and lid closed, following safety precautions). If voltage is present but the motor doesn’t run, the motor is likely faulty. If no voltage, trace back to the control board, lid switch, or wiring. Sometimes a simple reset of the control board (by unplugging for a few minutes) can resolve glitches, but this is not a guaranteed fix.
FixCircuit emphasizes a systematic approach: test from the power source inward, eliminating each potential failure point. This method reduces guesswork and ensures you address the root cause. If you find multiple issues, address them in order of simplicity and cost. For instance, replace worn brushes before condemning the motor. If all tests indicate a failed motor, replacement may be the most reliable solution, but always weigh the cost against a new machine.