Troubleshooting a Microwave That Blows Fuses
A microwave oven that repeatedly blows its fuse presents a specific diagnostic challenge that requires patience, methodical testing, and strict adherence to safety protocols. Unlike many appliance failures that produce obvious symptoms, a blown fuse often indicates an underlying short circuit that may involve several possible components, including door interlock switches, the high-voltage diode, or the high-voltage capacitor. Understanding the function of each component and how they interact within the microwave’s electrical system provides the foundation for effective troubleshooting. This article outlines a structured approach that home technicians can apply to identify the source of the fault, while emphasizing the critical safety measures necessary when working with high-voltage equipment.
Before any diagnostic work begins, it is essential to recognize that microwave ovens contain a high-voltage capacitor that can retain a dangerous electrical charge even after the appliance has been unplugged. This stored energy poses a serious risk of electric shock, and proper discharge procedures must be followed without exception. The information presented here is intended for individuals with a solid understanding of electrical safety and basic appliance repair principles. If at any point the diagnostic process exceeds your comfort level or technical expertise, consulting a qualified professional is strongly recommended. The goal of this article is to explain the reasoning behind each testing step, not to replace professional judgment or training.
The diagnostic sequence typically begins with a visual inspection and a review of the fuse’s rating, followed by targeted tests of the most common failure points. Door switches, the high-voltage diode, and the high-voltage capacitor are frequent culprits, but other components such as the transformer or magnetron may also be involved in less common scenarios. By approaching the problem systematically, technicians can narrow down the possibilities and avoid unnecessary parts replacement. The following sections detail each major area to investigate, along with the appropriate testing methods and the safety considerations unique to each component.
Understanding the Microwave Fuse and Its Role
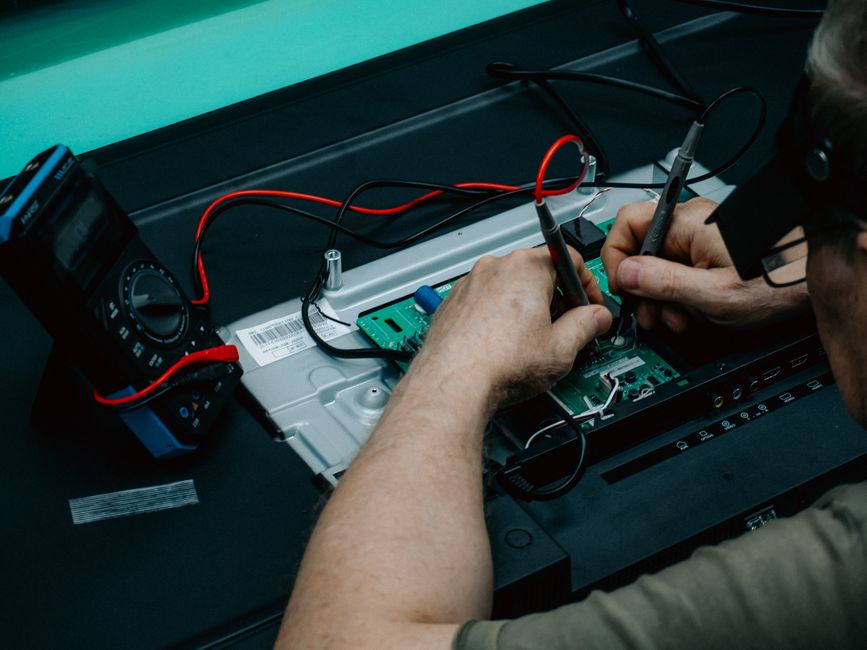
The fuse in a microwave oven is a safety device designed to interrupt the electrical circuit when current exceeds a safe level. When a fuse blows, it indicates that a short circuit or an overload condition exists somewhere in the appliance. The fuse itself is not the problem; it is a symptom of an underlying fault. Replacing the fuse without identifying the cause will almost certainly result in the new fuse blowing again, potentially causing further damage. Therefore, the first step is to locate the fuse, typically on the noise filter board or near the power cord entry, and verify that it is indeed open. A multimeter set to continuity or resistance mode can confirm whether the fuse has failed.
It is also important to note the rating of the fuse. Microwave fuses are typically rated between 15 and 20 amps, depending on the model and power output. Installing a fuse with a higher amperage rating is dangerous and defeats the purpose of the safety device. Always replace a blown fuse with one that matches the original specifications exactly. If the fuse blows immediately upon reinstalling it and plugging the microwave in, the short is likely in the primary circuit, which includes the door switches, the high-voltage transformer primary, or the noise filter. If the fuse blows only when the microwave is started, the fault may be in the high-voltage secondary circuit, which involves the diode, capacitor, and magnetron.
Once the fuse is confirmed blown, the next phase is to isolate the circuit that is causing the excessive current draw. This involves disconnecting power, discharging the high-voltage capacitor, and then testing components individually. The process requires a methodical approach: test one component at a time, and avoid skipping steps. Many technicians find it helpful to document each test result and to refer to the appliance’s wiring diagram for precise component locations and wire colors. The wiring diagram is often tucked inside the cabinet or attached to the back panel, and it provides essential information for tracing circuits.
Safety Protocols for Microwave Diagnostics
Safety cannot be overstated when servicing microwave ovens. The high-voltage capacitor can store a lethal charge, and the transformer and magnetron circuits operate at voltages exceeding 2,000 volts. Before touching any internal components, always unplug the microwave from the wall outlet. Then, locate the high-voltage capacitor and discharge it using an insulated screwdriver with a well-insulated handle. Connect the metal blade of the screwdriver to the capacitor’s terminals one at a time, or use a dedicated discharge tool. Hold the screwdriver by the insulated handle only, and avoid touching any metal part of the blade. After discharging, wait a few minutes and discharge again to ensure no residual charge remains.
Personal protective equipment, including safety glasses and electrically insulated gloves, should be worn throughout the diagnostic process. Work in a dry area, and avoid wearing jewelry or loose clothing that could come into contact with electrical terminals. It is also prudent to use a multimeter with a high-voltage rating if measuring live circuits, but live testing should be minimized whenever possible. Most diagnostic tests can be performed with the microwave unplugged and the capacitor discharged. If live voltage measurements are necessary, use a meter designed for high-voltage applications and follow all manufacturer guidelines.
Another critical safety consideration is the door interlock system. The door switches are designed to prevent the microwave from operating with the door open, and they also serve as a safety interlock to discharge the high-voltage capacitor when the door is opened. Tampering with or bypassing these switches is extremely dangerous and can result in exposure to microwave radiation. When testing door switches, always ensure that the microwave is unplugged and that the capacitor is discharged. Never attempt to operate the microwave with the door open or with the interlock switches defeated.
Testing Door Interlock Switches
Door interlock switches are a common source of fuse-blowing incidents in microwaves. These switches are activated by the door latch mechanism and are designed to ensure that the microwave only operates when the door is securely closed. Over time, the switches can wear out, become misaligned, or fail in a closed position, causing a short circuit when the microwave is turned on. Most microwaves have two or three door switches, often referred to as the primary, secondary, and monitor switches. The monitor switch is particularly important because it creates a short circuit if the door is opened while the microwave is operating, which blows the fuse and renders the appliance inoperative until the fault is corrected.
To test the door switches, first unplug the microwave and discharge the high-voltage capacitor. Remove the outer cabinet to access the switches, which are usually located near the door latch assembly. Disconnect the wires from each switch, noting their positions for reassembly. Using a multimeter set to continuity mode, test each switch in both the open and closed positions of the door latch. The primary and secondary switches should show continuity when the door is closed and no continuity when the door is open. The monitor switch, however, operates in reverse: it should show continuity when the door is open and no continuity when the door is closed. If any switch does not behave according to these specifications, it should be replaced.
It is also important to inspect the switch actuators and the door latch itself for mechanical wear or damage. A misaligned door latch can cause the switches to operate incorrectly, leading to intermittent shorts or failures. Sometimes, simply adjusting the latch mechanism or replacing worn door hinges can resolve the issue without replacing the switches. However, if the switches themselves are faulty, they must be replaced with identical parts to maintain the safety and functionality of the microwave. After replacing any door switches, reassemble the microwave and test it with a new fuse to see if the problem persists.
Diagnosing the High-Voltage Diode
The high-voltage diode is another frequent culprit in microwave fuse-blowing scenarios. This component is part of the high-voltage circuit and is responsible for rectifying the high voltage from the transformer to power the magnetron. When the diode fails, it can become shorted, allowing current to flow in both directions. This short circuit can cause the fuse to blow as soon as the microwave is turned on. Testing the diode requires a multimeter with a diode test function or a resistance setting. Because the diode is in the high-voltage circuit, the microwave must be unplugged and the capacitor discharged before testing.
To test the diode, disconnect one end of it from the circuit to isolate it. Set your multimeter to the diode test mode. A good diode will show a voltage drop in one direction (typically around 0.5 to 0.7 volts for a standard diode, but high-voltage diodes may show a different reading) and no continuity in the reverse direction. If the diode shows continuity in both directions, it is shorted and must be replaced. If it shows no continuity in either direction, it is open and also requires replacement. It is worth noting that some high-voltage diodes have a built-in resistor, which can affect resistance readings; in such cases, consult the service manual for specific testing procedures.
When replacing the high-voltage diode, always use a component with the same specifications as the original. High-voltage diodes are designed to withstand the high voltage and current of the microwave circuit, and substituting a different type can lead to premature failure or safety hazards. Additionally, inspect the diode’s connections and wiring for signs of arcing, burning, or looseness. A poor connection can cause intermittent shorts and fuse failures. After replacement, reassemble the microwave and test it with a new fuse. If the fuse still blows, continue diagnosing other components in the high-voltage circuit.
Evaluating the High-Voltage Capacitor
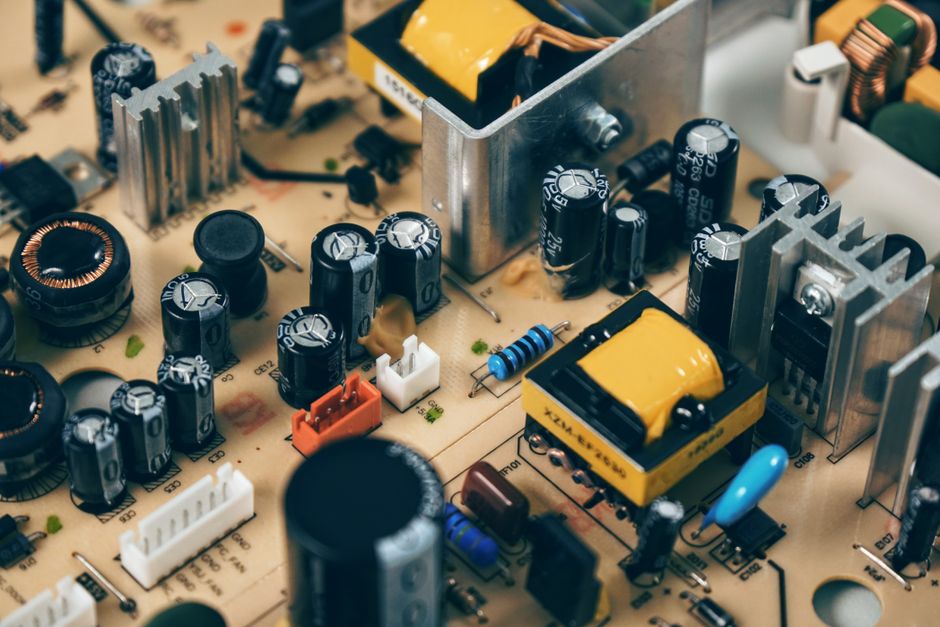
The high-voltage capacitor stores energy and works with the diode to provide the necessary voltage for the magnetron. A failed capacitor can short internally, causing the fuse to blow. Capacitors can also degrade over time, leading to reduced capacitance or intermittent shorts. Testing the capacitor requires discharging it first, as it can retain a dangerous charge. Once discharged, disconnect the capacitor from the circuit and use a multimeter set to capacitance mode to measure its capacitance. Compare the reading to the value printed on the capacitor’s label. If the reading is significantly lower than the rated value, the capacitor is weak and should be replaced. If the multimeter shows a short (very low resistance) or an open circuit (infinite resistance), the capacitor is defective.
In addition to capacitance testing, inspect the capacitor for physical signs of damage, such as bulging, leaking, or burn marks. These visual cues often indicate that the capacitor has failed. It is also important to check the capacitor’s terminals and wiring for tightness and corrosion. A loose connection can cause arcing and intermittent shorts. When replacing the capacitor, ensure that the new capacitor has the same capacitance and voltage rating as the original. Never use a capacitor with a lower voltage rating, as it may fail under the high voltage of the microwave circuit.
After replacing the capacitor, it is good practice to test the high-voltage diode again, as a shorted capacitor can sometimes damage the diode. Similarly, a shorted diode can stress the capacitor. Therefore, if either component is found to be faulty, it is wise to check the other as well. Once both components are verified or replaced, reassemble the microwave and test it with a new fuse. If the fuse still blows, the fault may lie in the high-voltage transformer or magnetron, which are less common but possible causes. In such cases, further testing or professional assistance may be required.
Always remember that microwave ovens are among the most dangerous appliances to service due to high voltage. If you are unsure about any step, seek help from a qualified technician.
In conclusion, troubleshooting a microwave that blows fuses involves a systematic approach that focuses on the most likely culprits: door interlock switches, the high-voltage diode, and the high-voltage capacitor. By following proper safety procedures, including discharging the capacitor and using appropriate protective equipment, home technicians can diagnose and repair many common faults. However, it is essential to recognize the limits of one’s expertise and to consult a professional when necessary. FixCircuit encourages safe practices and methodical testing, but assumes no responsibility for the outcomes of individual repair attempts. Each microwave model may have unique characteristics, and referring to the service manual is always recommended.